In
this post we are going to deal with the final few stages that need to be
completed before work on the Leather begins.
All
these stages involve Lining.
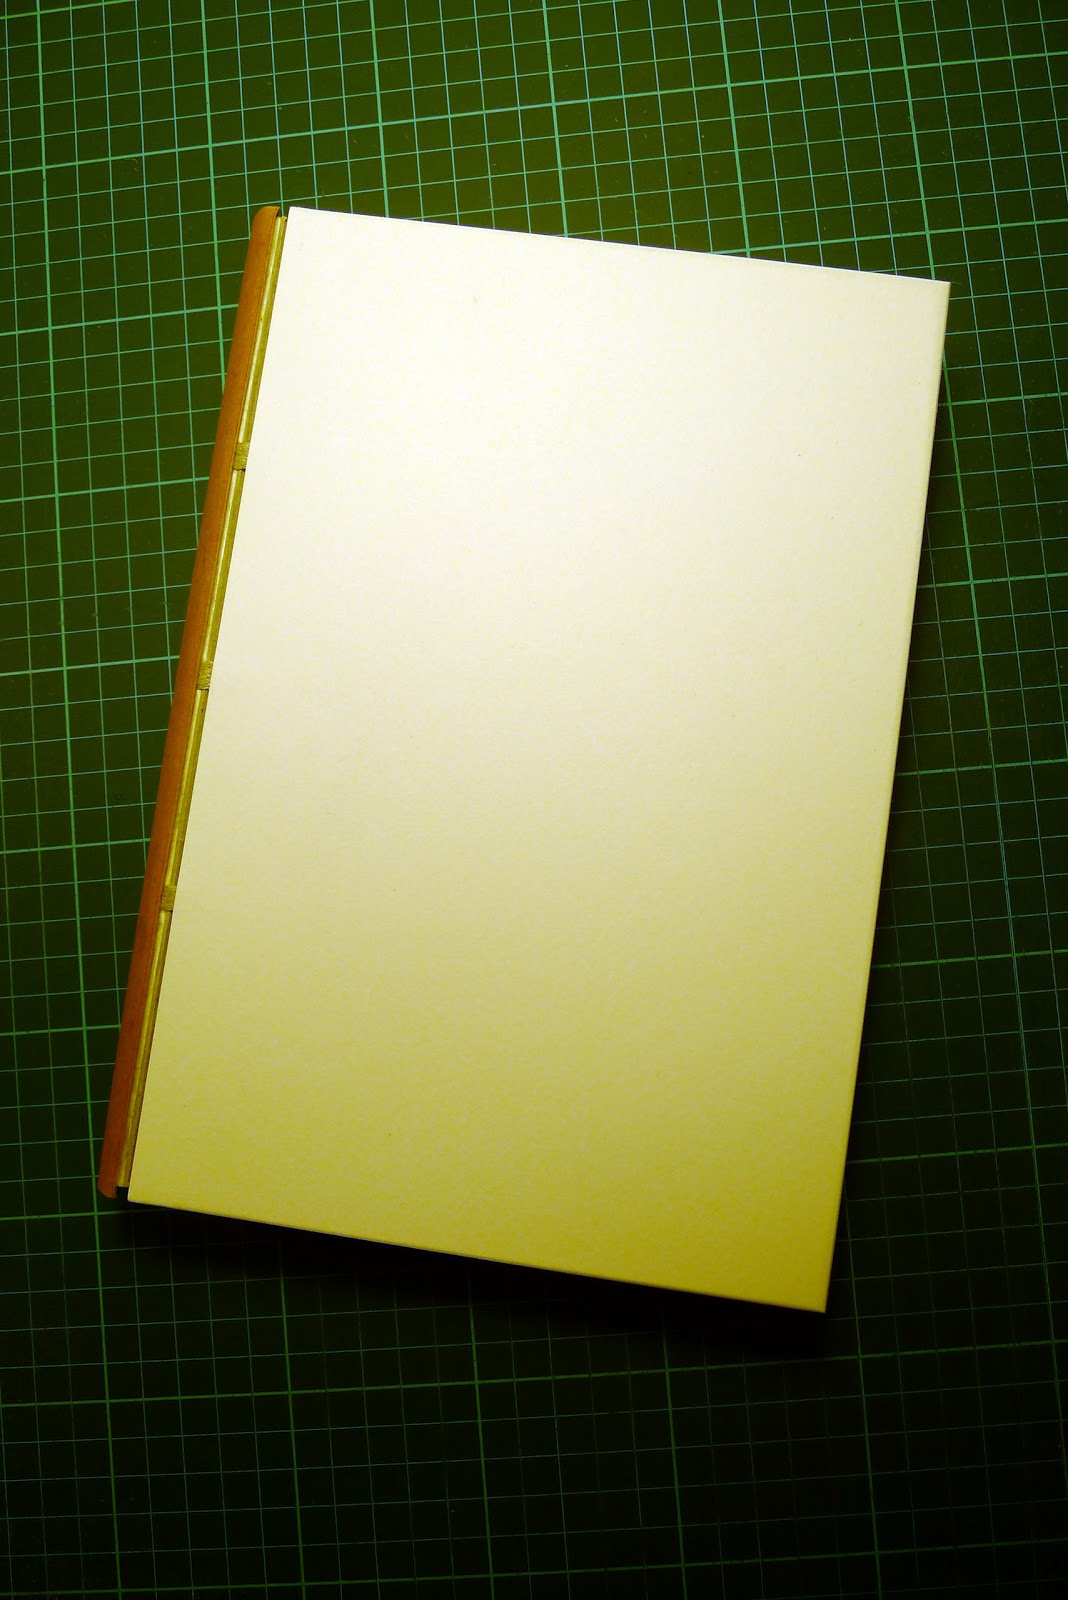
Before
we do anything, we need to protect the book block. From now on we won’t need to
open the book, so to keep the pages clean and keep the gilt edge from harm we
have to Cap the book.
For this I use a 120gsm Archival Kraft paper. It needs to fit snugly
around the block, so you need to measure all its dimensions, height, width and
depth.

Once
the Net has been drawn out onto the paper join the depth dimension with a
diagonal line. Then cut it out and crease along all the lines with a bone
folder.

Turn the flat cap over and crease the triangles
that will form the corners in half.
Now
form the cap off of the book to firm up the creases and form the corners. The
excess triangular corner pieces on the inside need to fit into the hollow area
created by the concave fore-edge.


When
you’re happy with it, cap up the book block and tape it down.

Once
capped up we are now ready to line the spine. The idea is to strengthen and
protect the spine edge of the sections, whilst still allowing the spine to open
freely.
Each
piece of lining material is slightly larger than the preceding layer, with the
final lining measuring from centre to centre of the endpapers. Also all
material used needs to have its grain running from head to tail as usual.
The
first lining is to even out the spines profile. We need to build up the areas
between the tapes, for this I use starched muslin glued on with PVA.

For
the next layer I use a quality heavy, yet supple hand made paper longer at head
and tail. I have used 190gsm Bockingford.

To
even out the gaps between the tapes still further, I apply fillers made from
120gsm Archival Kraft. Then finally a layer of Manila Kraft paper.


Using
a good strong pair of scissors, you need to trim the lining close to headbands.
This can be quite scary so take your time. Cut in a well-lit area, keep the
scissors steady and roll the book from the beginning of the cut to the end.
Again, take your time; you don’t want to nick the headbands!

We
are now going to apply a Hollow Back to the spine. This in effect is a tube of
kraft paper or light card that is stuck to the spine and in turn to the
leather. Towards the end of the binding process it will be slightly slit to
accommodate the leather turn in.
For
this I’ll be using Belmont Hollow, a 225gsm card ideal for the purpose although
I have used the same 120gsm Archival Kraft mentioned earlier. Both are fine.
Take
a piece of scrap paper and measure the width of the spine between the coloured portions
of the endpapers. Now measure out three widths of the spine on a piece of
Belmont and cut the whole longer than the spine. Now crease and fold and check
for fit.

Now glue out one edge and so that you have a tube
with one thickness of card on one side and a double thickness on the other.

The
single thickness will be glued to the book and the double will be stuck to the
leather. This is known as one on and two off.
It’s
a good idea to glue the hollow to the book quite soon after it has been made as
it will be more pliable now as opposed to when it is dry. You will need to keep
working the hollow until it is well stuck.

Now
trim the hollow in the same manner as the lining.

Before
we put a final lining on the cover boards we need to set the slips.
At
the moment the tapes are standing proud from the boards. Place the boards in
their final position and mark the profile of each tape.
Now open the book back on its self and with a sharp scalpel cut the
marked sections out to the depth of the tapes. Brush a little PVA into the
recesses, close the book and smooth down the tapes.

Finally
you need to line the boards. I’ve used 300gsm Somerset Satin, a heavy paper but
with a smooth surface that will give the leather a good foundation.
Cut the paper larger at head, tail and fore-edge. Paste and apply right
on the spine edge of the board. Smooth off and gently crease around the edge.
Do the same on the back board and press until dry.

When
dry remove the excess board lining paper by sanding with a fine wet and dry
paper. Do not be tempted to trim it off with a scalpel or craft knife. You will
cut the headband; trust me it happens!

Sanding
the edges gives you a clean edge and a softer profile for the leather.
In
the next edition I’ll show you how to measure up and pare the leather. Until
then leave the prepared book between pressing boards.